安装教程
其实网上一查一大把,这里就不详细介绍了
可以参考这个windows下Hexo博客搭建过程
进阶操作
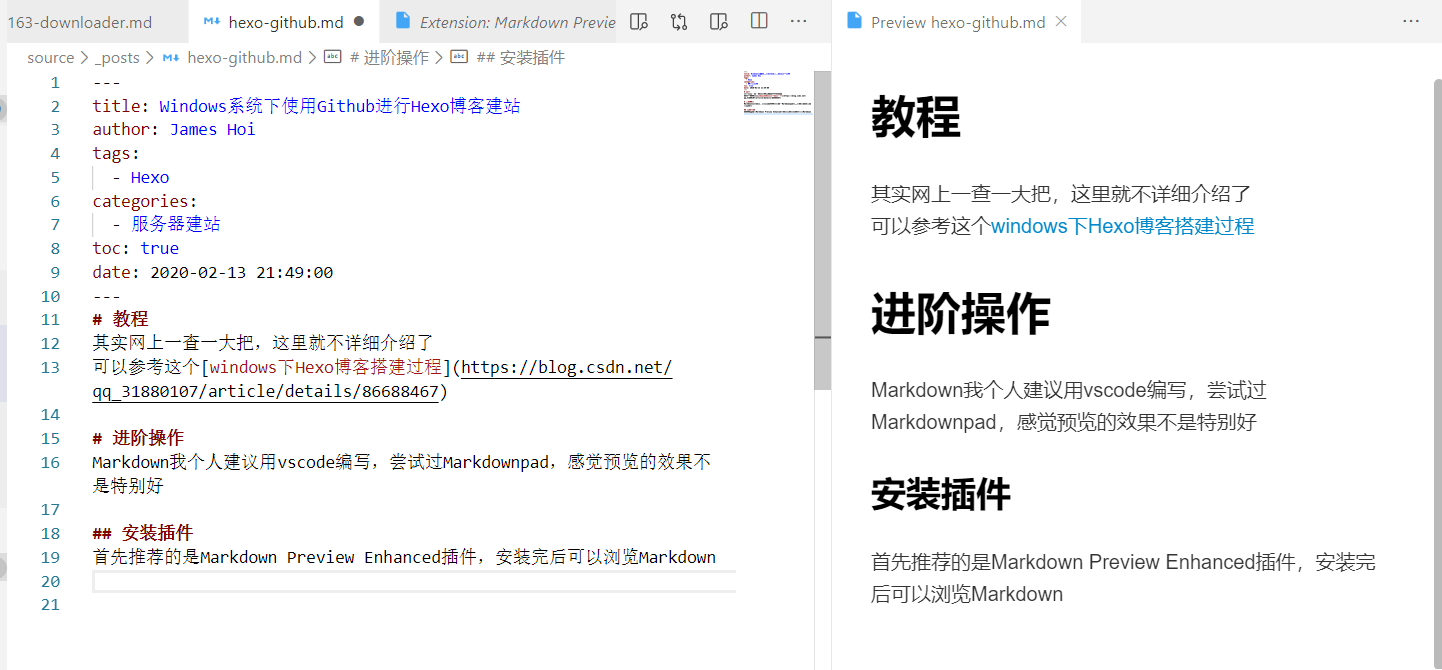
Markdown我个人建议用vscode编写,尝试过Markdownpad,感觉预览的效果不是特别好
安装插件
首先推荐的是Markdown Preview Enhanced插件,安装完后可以浏览Markdown
Markdown Preview Enhanced
另外一个推荐的是Markdown Command Assist,安装后在编辑md的时候右键可以一键添加Markdown格式

Markdown Command Assist
快速上传文章
当你已经完全成功配置了hexo,可以通过添加vscode的任务脚本来进行快速上传
点击终端->配置任务->使用模板创建tasks.json->随便选一个

创建tasks.json
然后以下文本替换到tasks.json
1
2
3
4
5
6
7
8
9
10
11
12
13
14
15
16
17
18
19
20
21
22
23
24
25
26
27
28
29
30
31
| {
// See https://go.microsoft.com/fwlink/?LinkId=733558
// for the documentation about the tasks.json format
"version": "2.0.0",
"tasks": [
{
"label": "hexo server",
"type": "shell",
"command": "hexo server -s -d"
},
{
"label": "hexo build",
"type": "shell",
"command": "hexo clean&hexo g"
},
{
"label": "hexo publish",
"type": "shell",
"command": "hexo d"
},
{
"label": "hexo all",
"type": "shell",
"command": "hexo clean&hexo g&hexo d",
"group": {
"kind": "build",
"isDefault": true
}
}
]
}
|
修改完成后点 终端->运行任务
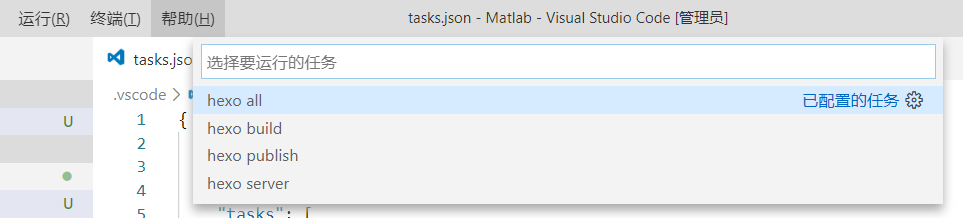
运行任务
`hexo all`: 一键上传(生成+上传)
`hexo build`: 生成网页
`hexo publish`: 通过git上传
`hexo server`: 打开hexo本地服务器
已将hexo all设置为默认任务,所以可以使用快捷键Ctrl+Shift+B进行一键上传
